
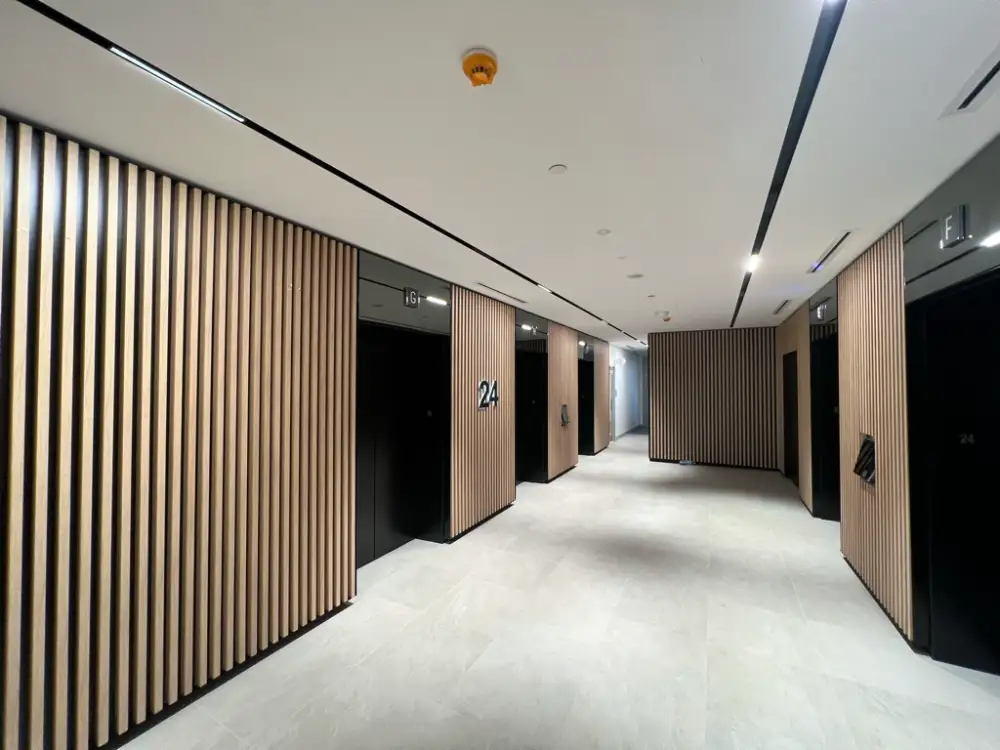
Before and after
Our
work.
Specialised craft, proven on site. Every restoration reflects Caoba’s standard: flawless visual continuity, precision colour-matching and results built to last. Judge our expertise by our work.
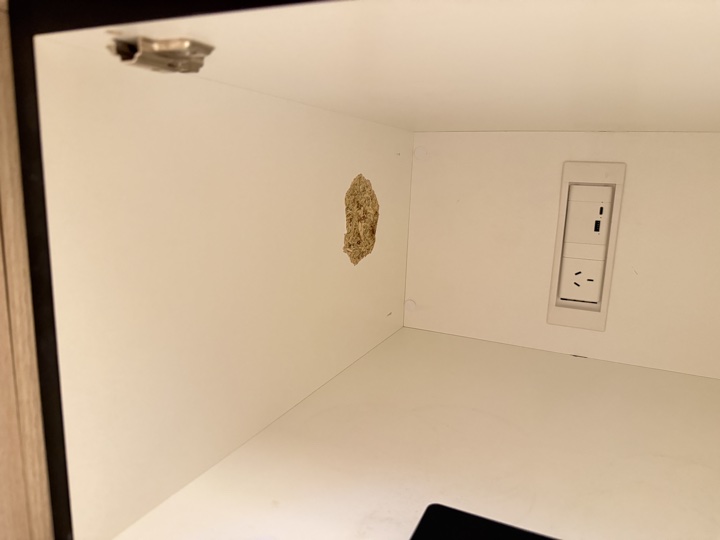
Before
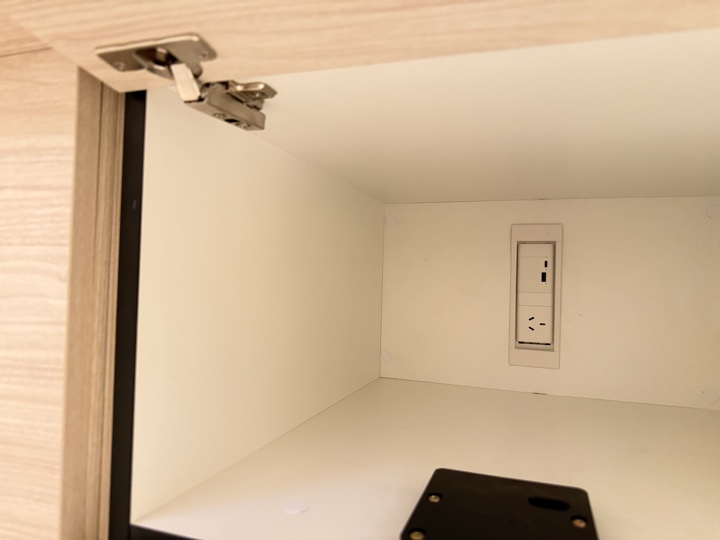
After
Blown-out melamine in a locker
The white melamine broken away on the underside of a locker’s top panel, exposing the board core. Filled, sanded flush and re-finished so the inside reads as new.
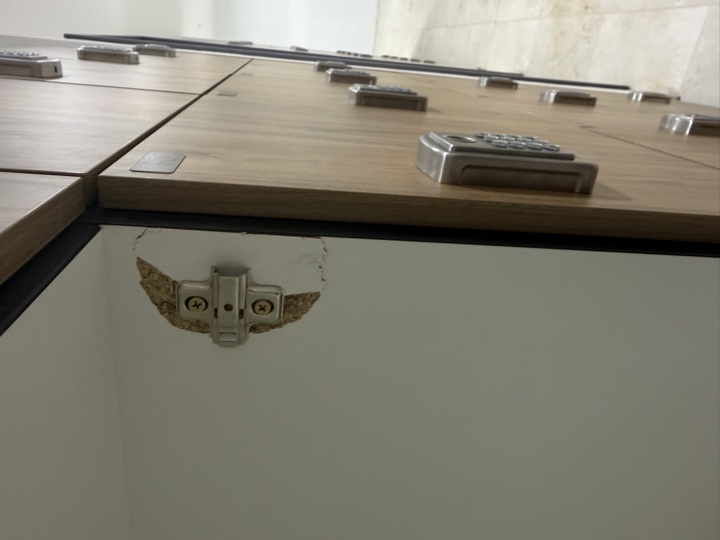
Before
After
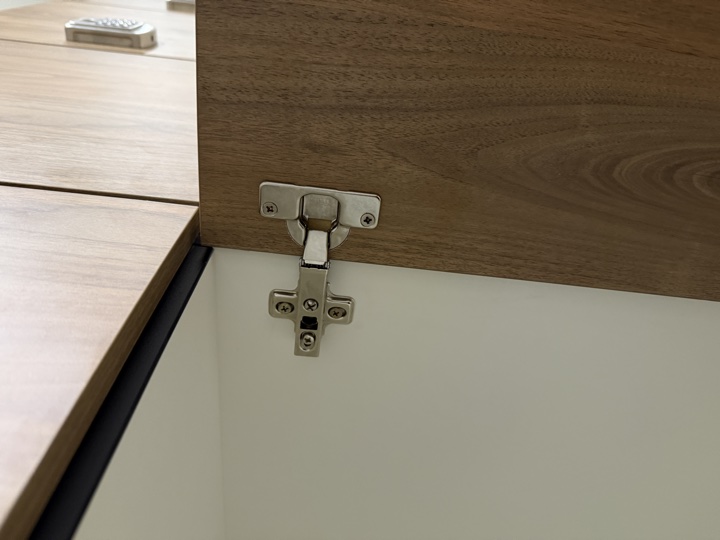
Torn-out hinge fixing
A hinge plate pulled out of the panel, taking the board and the finish with it. The fixing point rebuilt so the hinge holds again, and the surface made good around it.
Before
After
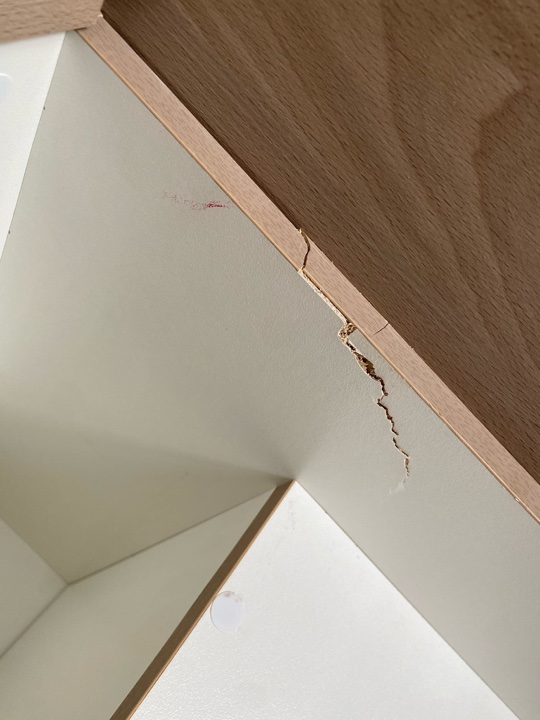
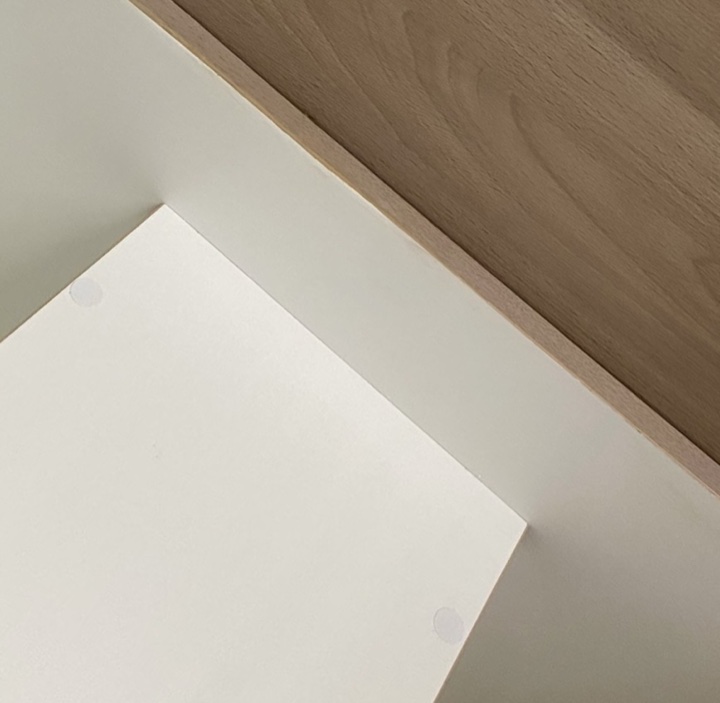
Chipped panel edge in a cupboard
The white panel edge torn away where it meets the timber frame, back to raw board. Rebuilt, re-profiled and colour matched into the surrounding white.
Before
After
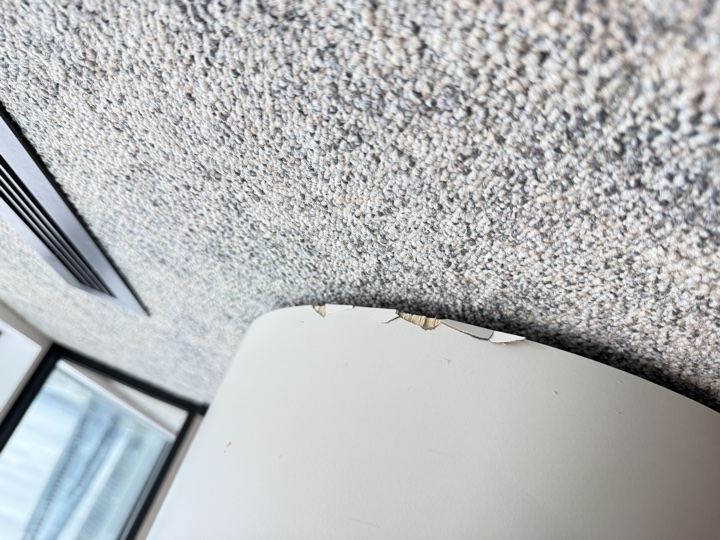
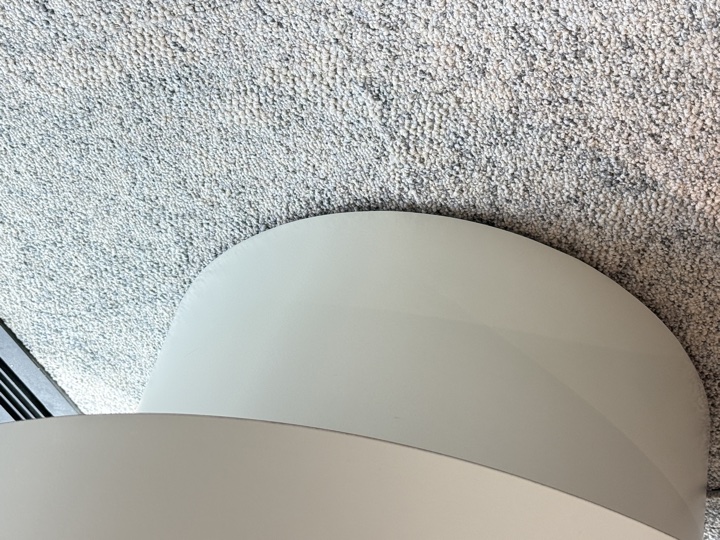
Chipped base of curved joinery
The bottom edge of a curved seat base knocked through to the core. Rebuilt around the curve and colour matched so the line runs unbroken.
Before
After
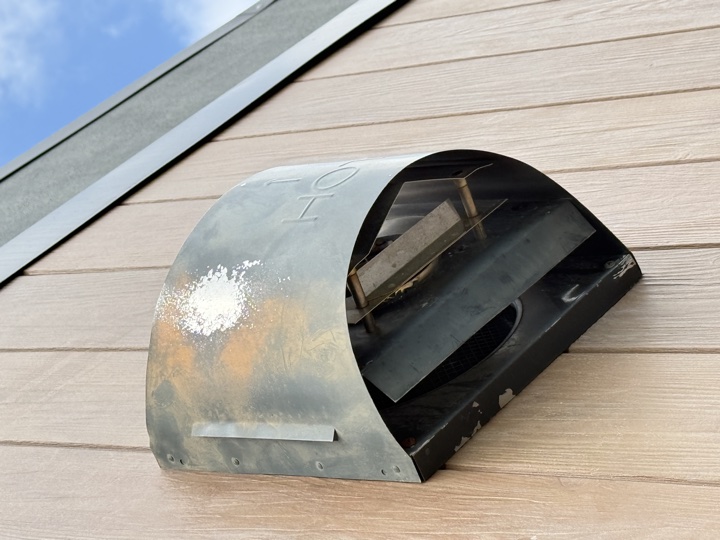
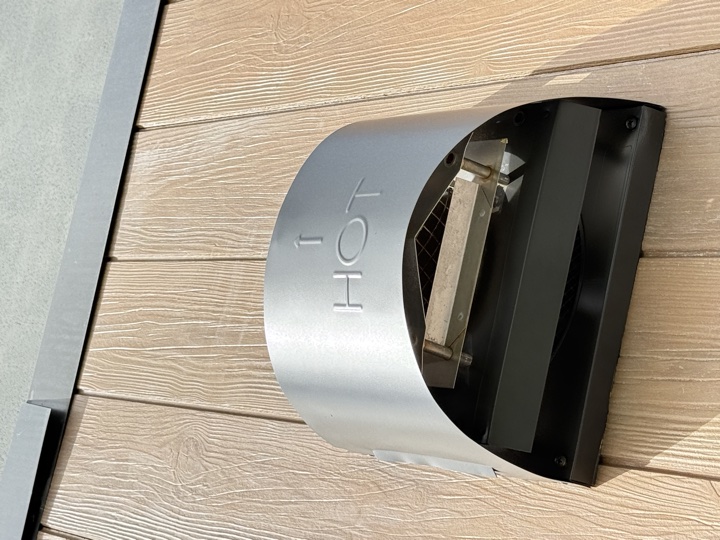
Stained stainless steel cowl
Discolouration, staining and white deposits across an external stainless cowl. Cut back and re-finished to an even brushed surface.
Before
After
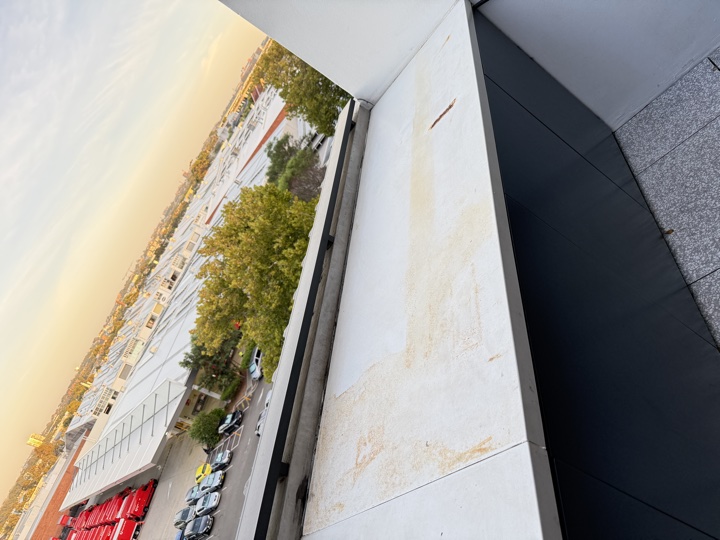
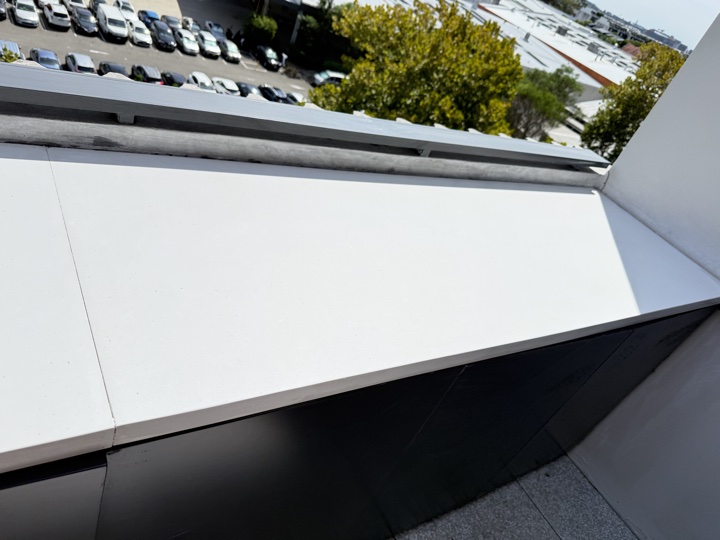
Rust runs on an external capping
Rust bleeding down a white external capping. The staining drawn out and the surface re-finished evenly across the full run.
Before
After
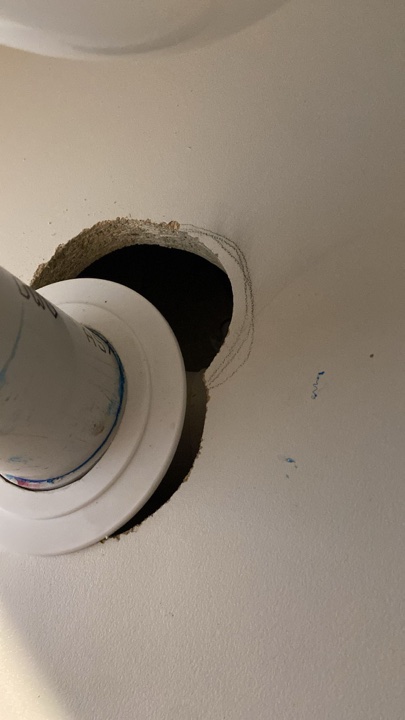
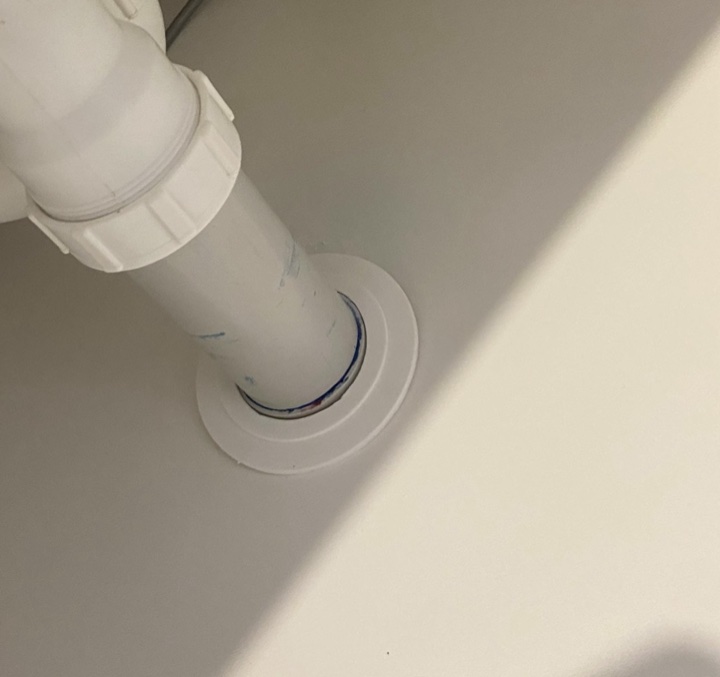
Over-cut service penetration
An over-cut opening around a waste pipe, left ragged and open to the substrate. Closed back up around the pipe and finished flush with the surrounding panel.
Before
After
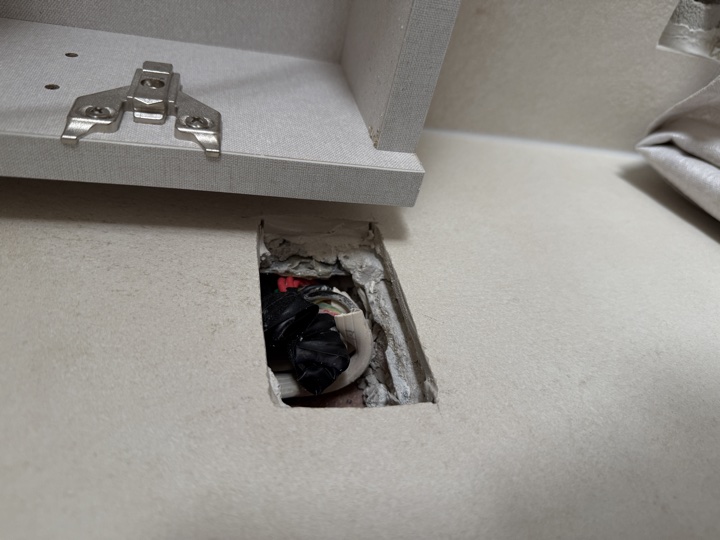
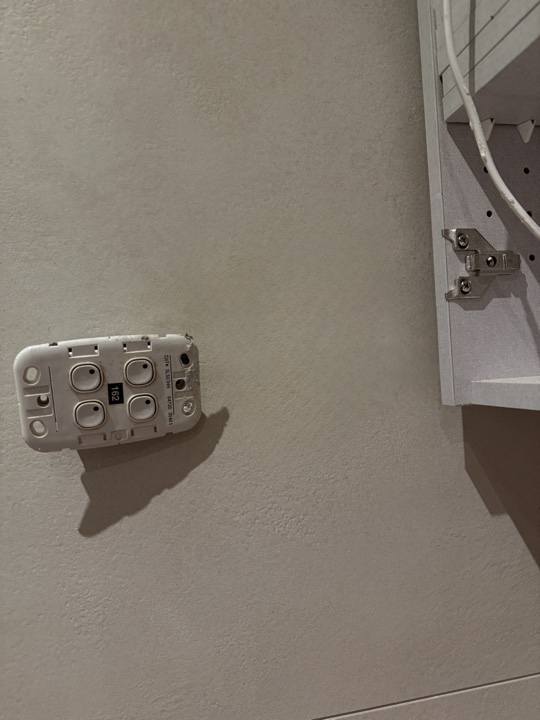
Made good around a wall cut-out
A rough opening cut into the wall for a switch plate, with the plaster broken back around it. Made good around the fitting and blended into the existing wall finish.
Before
After
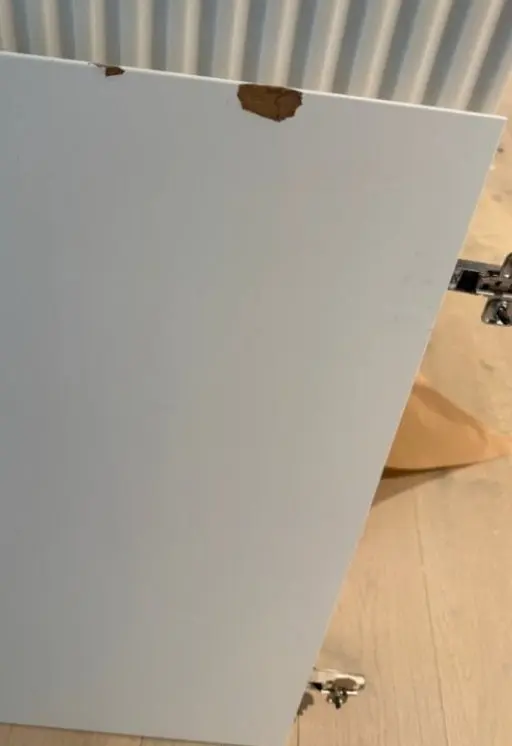
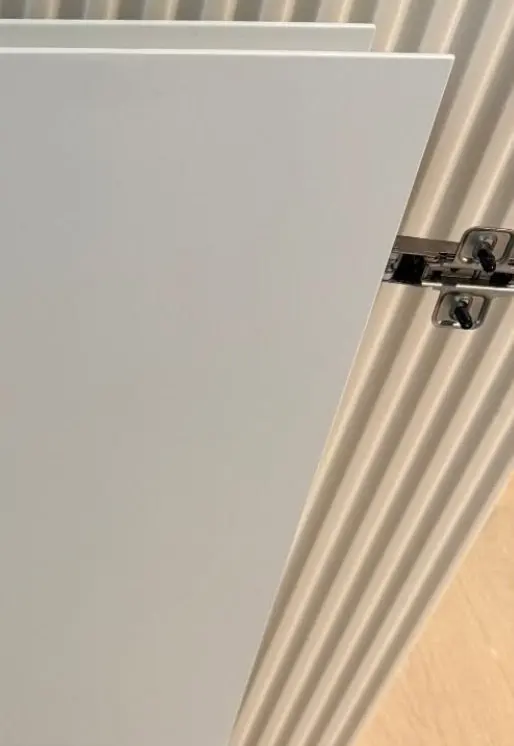
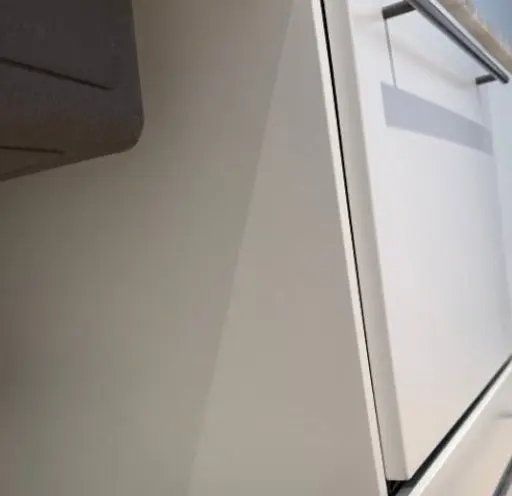
Chipped door edge
Minor damage to the bottom MDF core along the edge of a hinged door — the edge re-profiled and colour-matched back into the surrounding finish.
Before
After
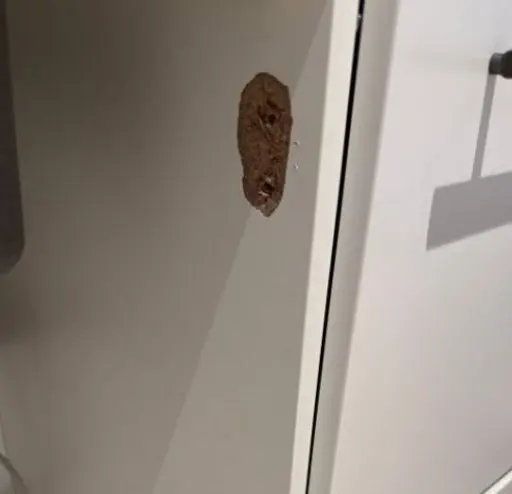
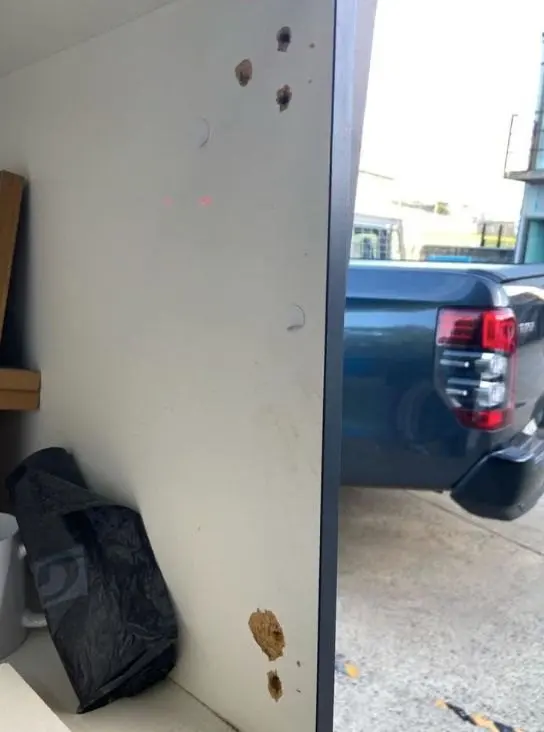
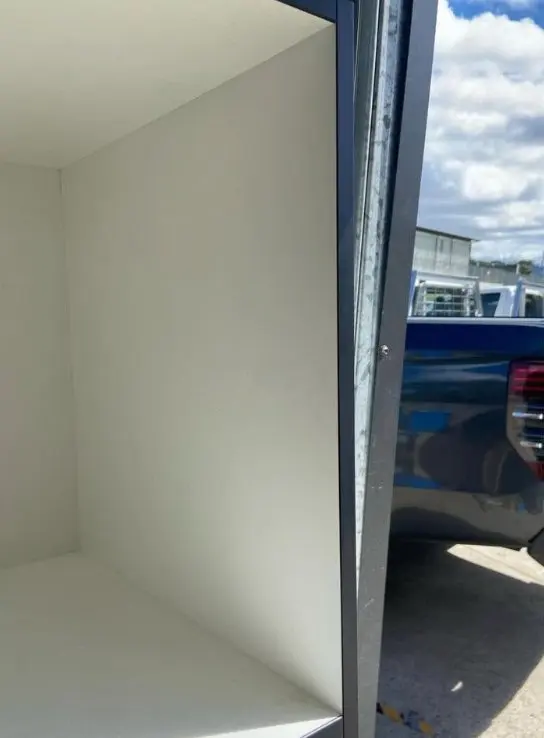
Gouge on a cabinet face
A deep gouge in the middle of a flat white cabinet door, repaired with a multi-stage rebuild: filling, sanding flush, and colour matching to the surrounding finish.
Before
After
Chipped wall
Chips and knocks through the paint on a wall — filled, sanded flush and colour matched into the surrounding finish.
Before
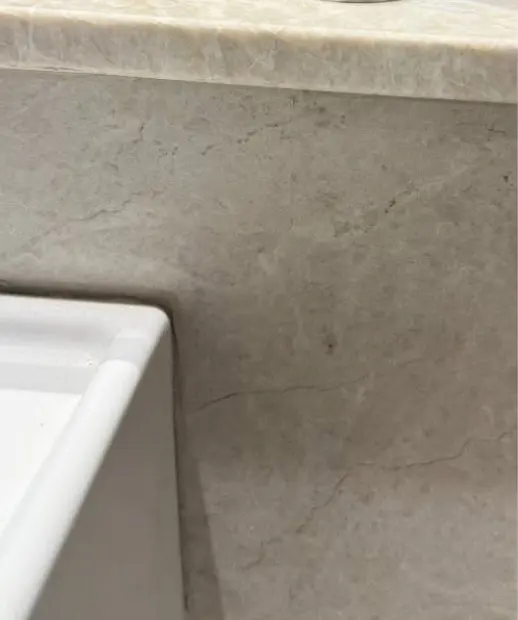
After
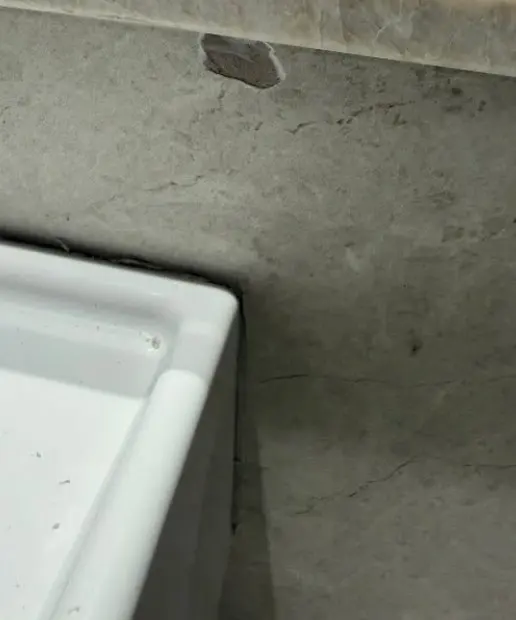
Chipped stone bench top edge
A chip broken out of the front edge of a stone bench top beside the sink. Rebuilt, re-profiled and the veining carried through the repair.
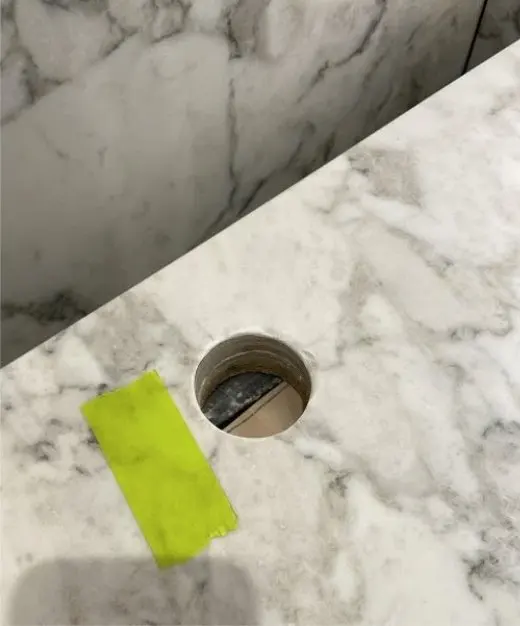
Before
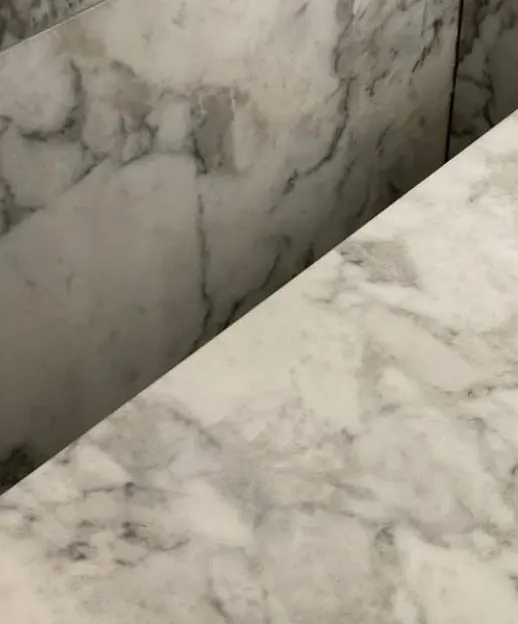
After
Redundant tap hole, marble
A core-drilled tap hole no longer needed. Filled flush and the marble veining drawn back across it — the hole is simply gone.
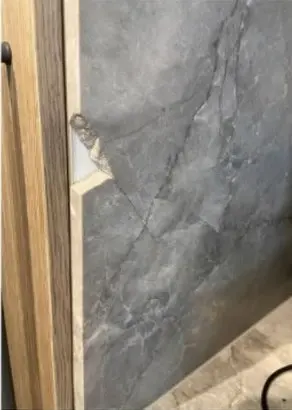
Before
After
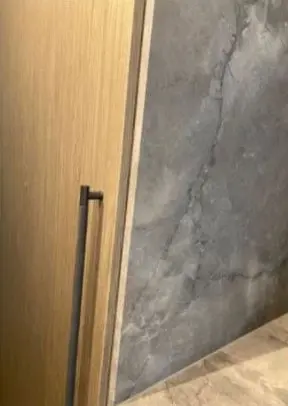
Chipped stone wall panel
A chip through to the white substrate on the edge of a dark stone panel where it meets timber joinery. Filled and colour matched into the stone.
YOUR DAMAGE IS PROBABLY ON THIS PAGE.
Not on the page?
SEND IT ANYWAY.
If your damage isn’t here, photograph it and send it through. We’ll tell you whether it can be repaired — and say so plainly when replacement is the better call.
- Phone
- +61 426 844 172
- info@caoba.com.au
- Where we work
- Sydney & NSW